

Mrs Fraser's Art Club
Here are some of our projects ...... Enjoy!
Bug Sillouettes
Insects are facinating and essential for the food chain. We studied them using magnifying glasses and through sketching. From this we developed an outline body shape and, once this was carefully cut out, stuck it to a abstract painted background. These worked so well that we sent them to Blue Peter and were awarded Blue Peter Badges.


Daft Ducks!
We used our collage skills to create some gorgeous duck compositions based on the work by artist Kerri Blades. We think they are rather cute!


Fairy Houses
Using a cardboard tube and other pieces of cardboard we created a fairy/troll house sculpture. This was covered in mod roc then decorated using acrylic paint and air drying clay. They did come out very well.


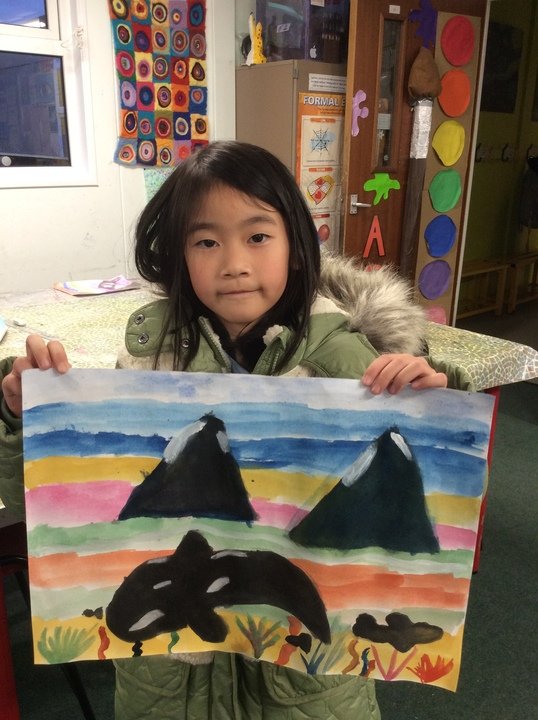
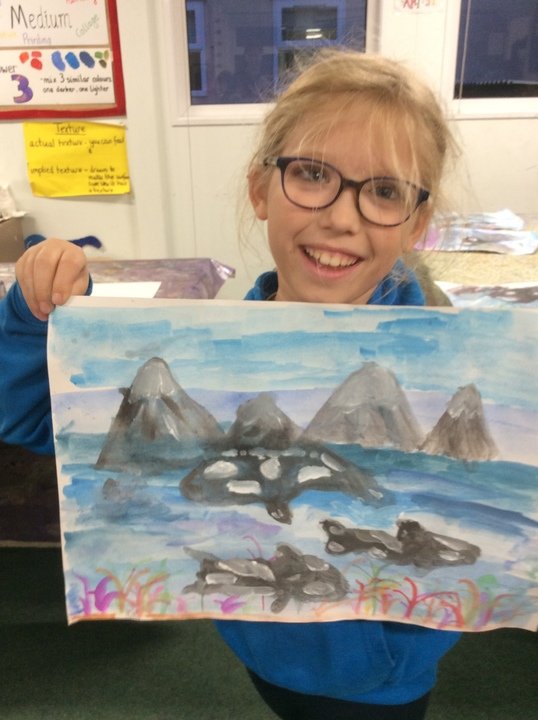
Online Orcas
We were given the opportunity to paint along with a professional artist, John Dyer, as part of Born Free Foundation's 'Last Chance to Paint'. We joined groups from all across the country. It was a fast paced session but we just about kept up!


Printing Perfection
Basing our inspiration on William Morris and the natural world, we created printing blocks using card, string and a lot of glue! Once our blocks had dried, we printed them using black ink and finally added colour using water colour paints. We were so impressed with the results that we used them to print cards, wrapping paper and gift bags. These were a bit fiddly to fold but look amazing.


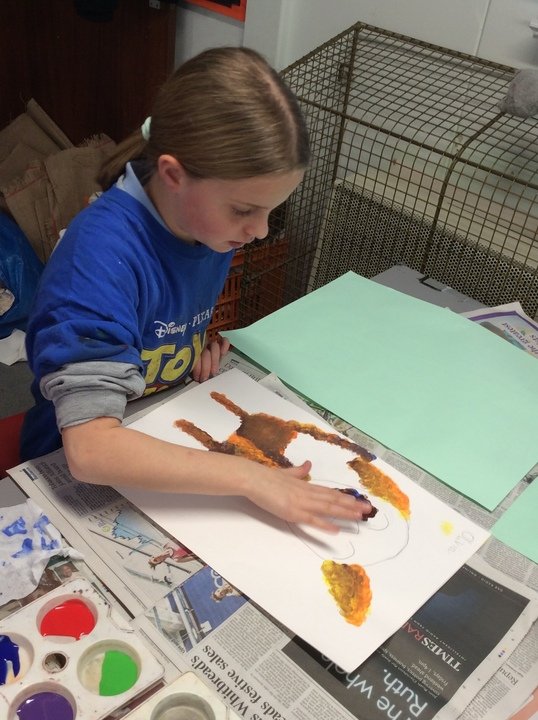
Iris Scott Inspired Shaking Dogs
Painting doesn't always have to be done with a paintbrush! We looked at artist Iris Scott and how she produces work using her fingers - dabbing, flicking and making all-sorts of wonderful different marks. It's a messy process (VERY) but we absolutely loved the experimenting and our final results.
Iris Scott herself is impressed. Read her response to our art work.
Mrs Fraser,
Oh my gosh these are FANTASTIC!
I am thoroughly delighted and impressed by these. When I showed my husband he said “whoa those are good enough to be sold as greeting cards they’re so cute!”
I have to agree with them. I think they’re really strong. The expressions of the dogs are just HILLARIOUS.
Enjoy the day,
IRIS SCOTT


Fabulous Felt
Wet felting is a fantastic medium to use, although rolling the felt can leave your arm muscles rather tired! We began by learning how to pull out and place the felt, then soak it and roll it on bubble wrap with a special soap. We each made a bracelet, getting the size right was a bit tricky but we persevered and made a second batch to perfect it.


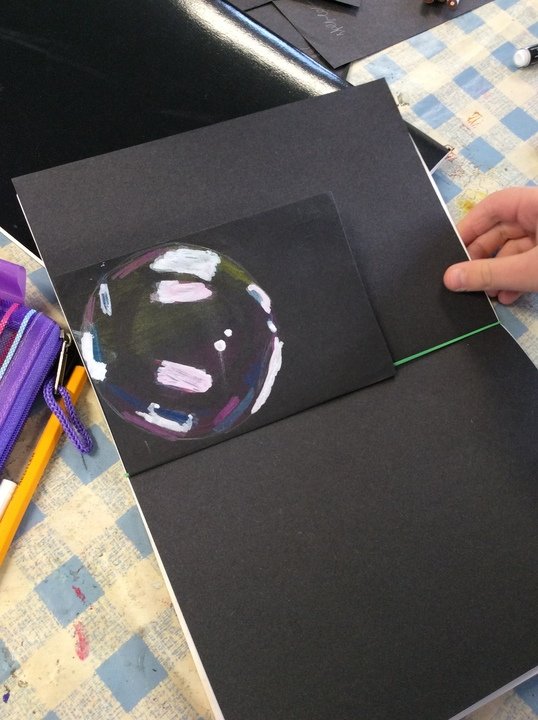
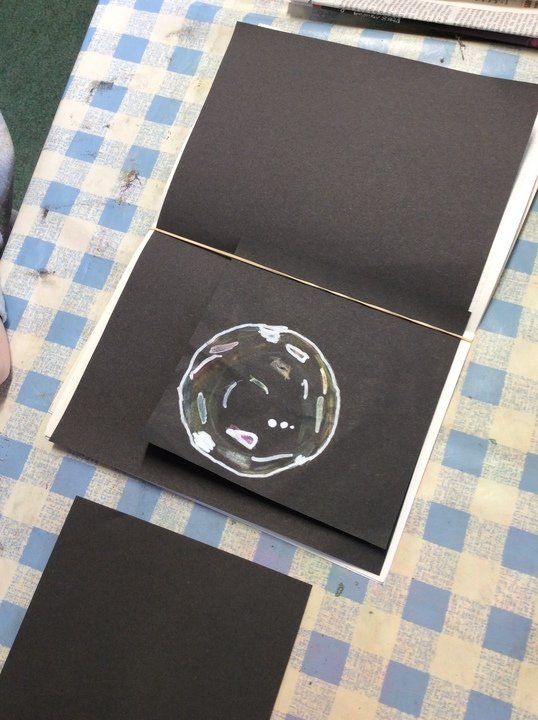
Bubbles!
Year 3 Art Club started with a pencil-crayon bubble project. We followed some simple steps to create them and they look incredibly effective. It is just a case now of practise and practise until we have the process perfected. Bubbles are fun to make and you can use any colours you like. A superb start. I'm excited to see what we create next.


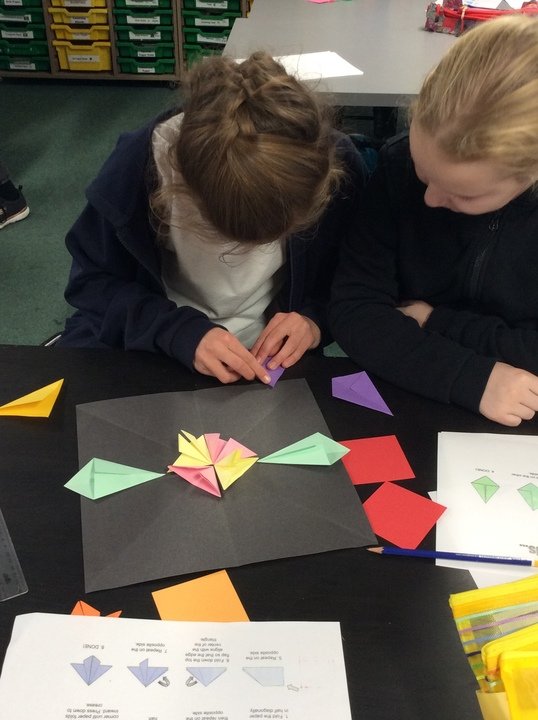
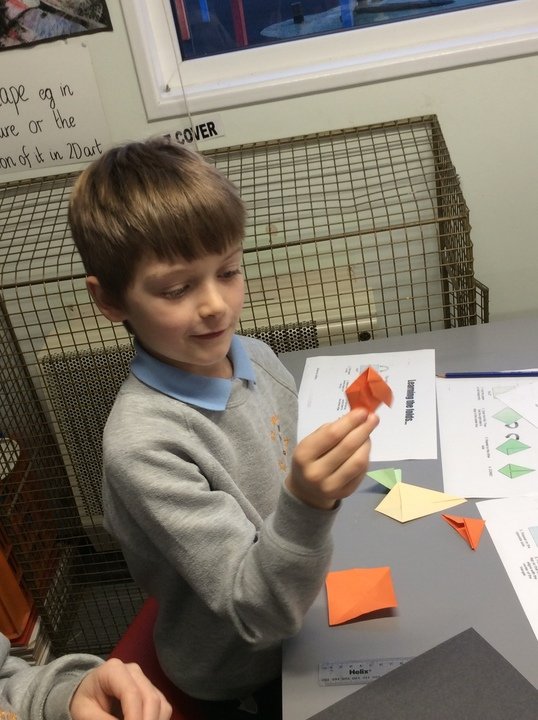
Origami
Using colourful squares of paper we learn to create 3 key folds - the kite, the hat and the samurai. We practised these folds, getting more and more accurate, then worked in pairs to arrange them in a design which had symmetry. We also found our own folds to try. Jasmine still needs to teach me how to make a butterfly. It looks amazing but is very complicated!


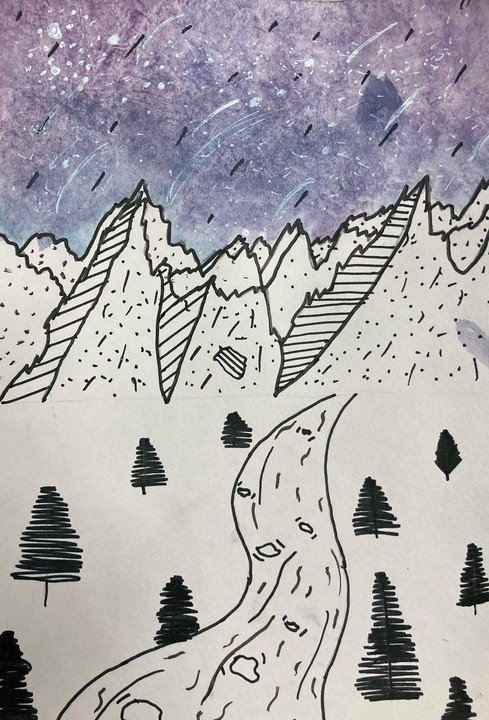
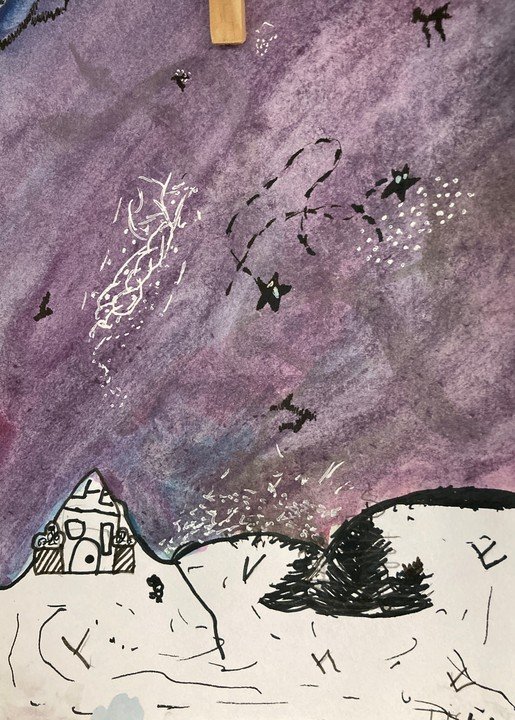
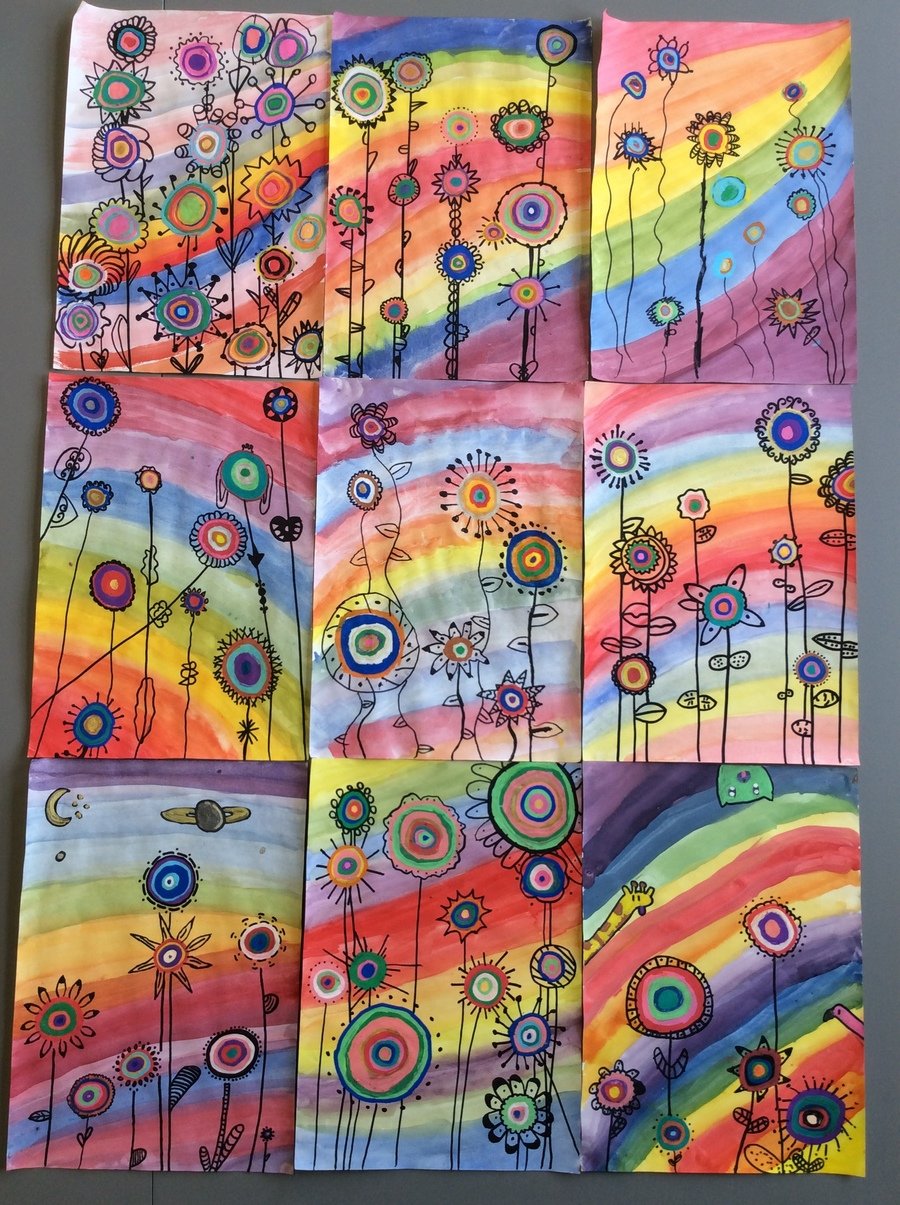
Marvelous Mountains
We have looked at the work of illustrator and graphic designer Jen Aranyi, creating our own designs inspired by her work. We used a wet-on-wet water-colour technique for the sky then pen for the mountains and other details. Finally, some of us added stars using a white gel pen.


I sent the photos of our work off to the artist who inspired us. Here is her response.
Dear Mrs Fraser
Oh my gosh, these are great! Thank you so much for sharing, these photos just made my day! :)
Stunning Sunflowers
These beautiful flowers were created by layering tissue paper and painting ontop. Very simple to create but very effective too.


Perfect Pets - Published Artists
We created weird and wonderful designs for our 'Perfect Pet'. These were published in a book of children's art work with one of your being chosen as the front cover.


Recycling Jellyfish
We found a few old and broken umbrellas so we decided to turn them into jellyfish using lots of different pieces of recyled materials. Excitingly, we sent our creations off to Blue Peter and gained a Blue Peter Badge each.


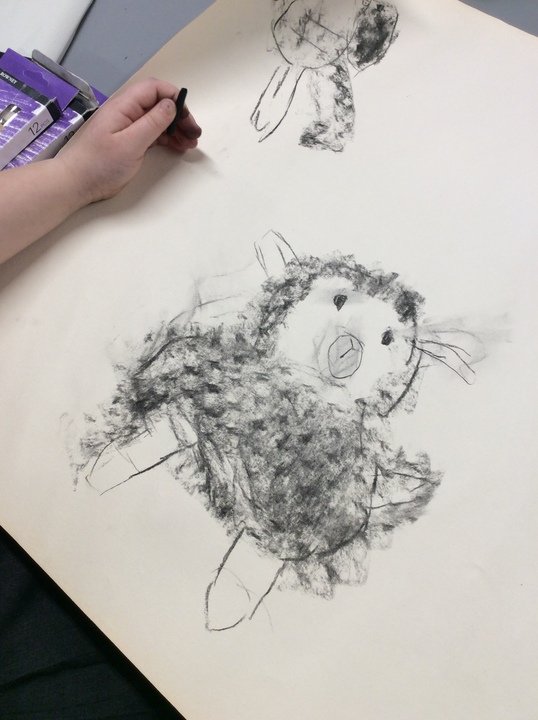
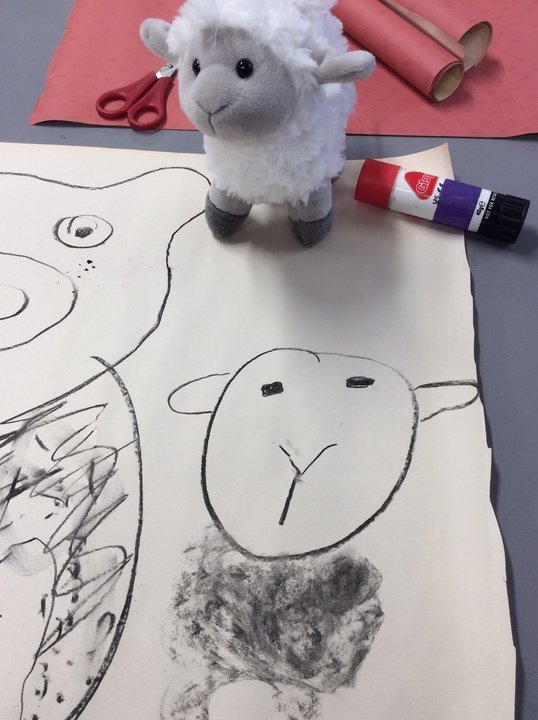
Toy Texture
Whilst waiting for another art project to dry, we had a go at drawing a selection my cuddly toys. We focused on using charcoal in different ways to create a range of textures.


Portraits
This term we decided to explore the proportions of the face and have a go at drawing an important person in our lives. Measuring the different parts of the face against each other and finding out that our eyes are really half way down our face really blew our minds. (Try it by measuring with your thumb and index finger - they really are about half way down! Your nose is also about the length of your ears too.) The concentration used to study the different features and to transfer them onto the page was phenomenal. Well done all of you.


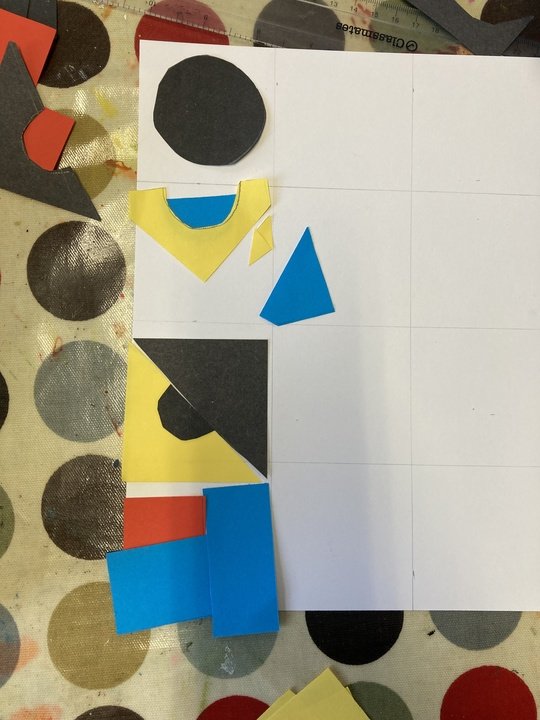
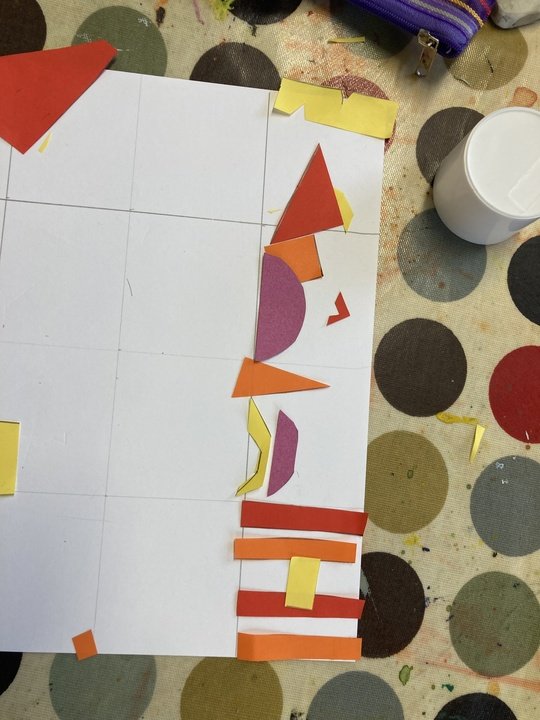
Geometric Collage
We looked at the art movement of the Bauhaus School of Art, whose emphasis was on using simple geometric shapes, clean lines and primary colours. Our versions used paper collage on a background grid, thinking carefully about the placement of our shapes and colours to make a pleasing, balanced design.


Explosion Books
For this project we began by creating an expressionist painting. It got rather messy, with paint flying everywhere as we painted to the rhythm of the music. Once dry, we used sharpies and posca pens to further embellish our work. The finished paintings were then cut into squares to add to the explosions books we had made. These were created using folded paper and two cardboard covers. The folding aspect was a little tricky, but we did succeed with a bit of practise and help from our friends.
We are so proud of the finished results.


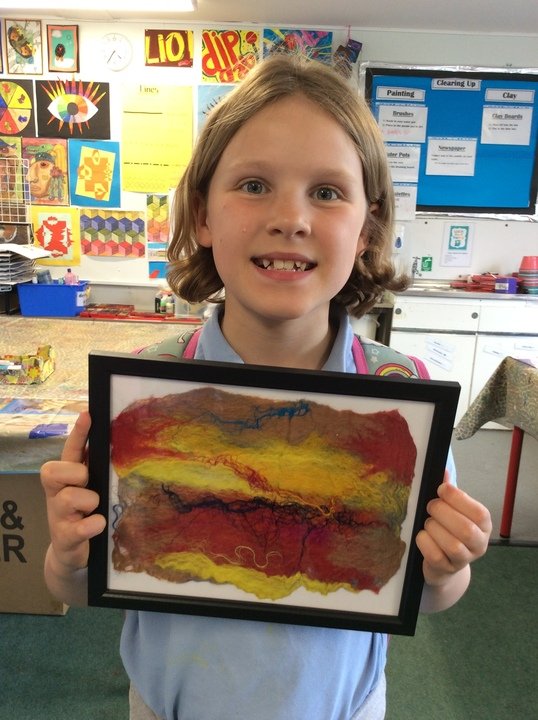
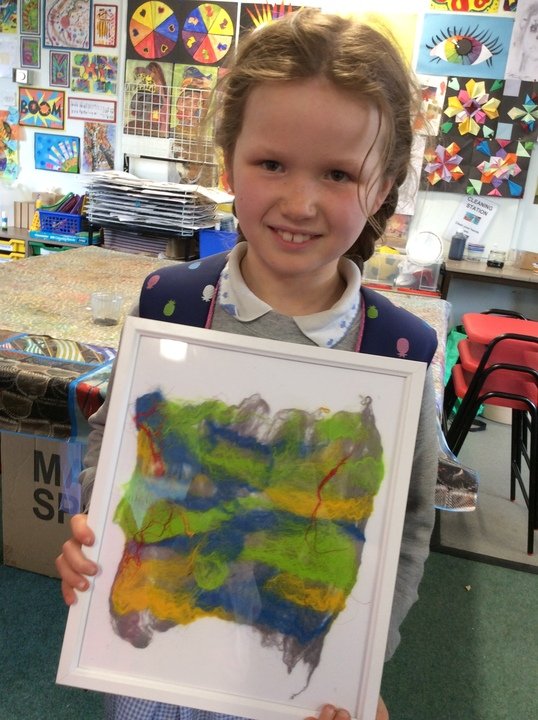
Felt Landscapes
After our bracelets, we thought we'd try something a little more adventurous! We took inspiration from a range of landscapes and chose our favourite colours to incorporate into them. After laying down a grey background layer, we pulled strands to create a perpendicular layer. On top of this we added silk scraps and fine, dyed alpaca fibres. Then it was back to soaping and rolling. The results were so impressive that we just had to get them frames. What an amazing creative group they are. Well done.


Layers and Layers
As inspiration we looked at the work of Australian artist Sarah Robey. She creates her work by building up layers of painted shapes, stencils, colourful mark making and then a final layer just leaving a negative space design. It is a very clever process and very effective. I have now uploaded some examples of the final pieces as well as the different steps. I had to wait until after Mother's Day as I know some of the children wanted to give them as presents. I hope you liked them.


Tone and invisible pictures!
A lot of fun was had in this session. First we explored the differences between compressed charcoal and charcoal willow sticks, exploring how to create different tones (barely anything up to really dark). At this point we were already VERY mucky! We then drew an object (from memory or one in front of us) using a wax candle. Using wax meant the image was almost invisible on the paper. We learnt that you couldn't take the candle off the paper or you would loose your place. Once finished we rubbed on charcoal powder to reveal the image. This caused lots of hilarity but we were very impressed with our accuracy.


Oil Pastel Dragon Eyes
As a group we decided we wanted to explore the medium of oil pastels. Searching around, we found some amazing images of dragon eyes which we wanted to have a go at. Here are some of our creations so far.


Positive and Negative Collage

This activity was a bit of a jigsaw to create! We started off by making single cut outs on each side of a rectangle but then quickly moved on to doubles. These are where you cut out a piece from inside the first cut out. It is quite fiddly but the results were impressive.


Exploding Dots
We have been 'taking a dot for a walk', exploring adding paint to paper with a range of implements e.g. feathers, sticks, string cotton buds, fingers as well as brushes. Once dry we began to add decoration in pen.


Autumn Trees
We looked at the trees outside turning autumnal and Gustav Klimt's Birch trees (as well as other artists). We created our own versions using a water-colour wash background and acrylic trunks. We had fun splattering on the different colour leaves.


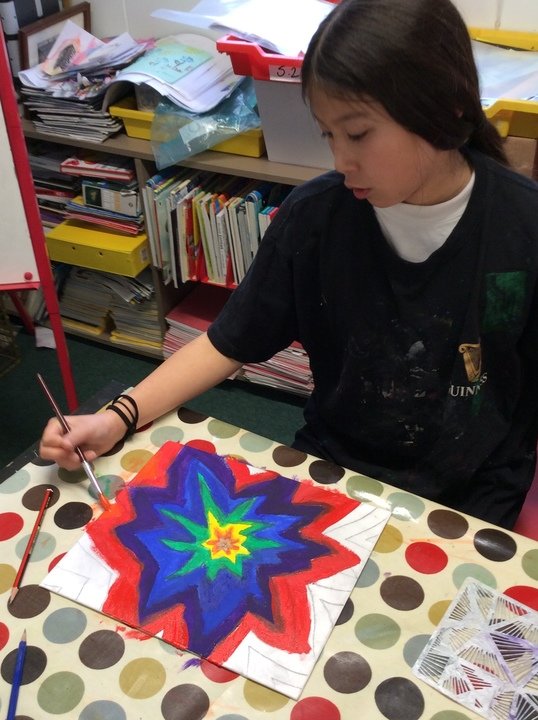
Colour Wheel Flowers
We explored the primary and secondary colour wheel, using it as our background for a concentric circle flower design. To make the flowers we used Posca Pens (We love them!) and sharpies to add the final pattern.
Animal Face Collage
To create these amazing faces we first splattered paint, ink and crayoned large pieces of paper which we then ripped into strips. (This did get rather messy!) These were glued onto card in a star burst design. On to this we added oil pastel eyes, a nose then inked on fur or feathers. The eyes have a glint to them because I painted a layer of resin over them. They look absolutely fantastic.


Rag Decorations
It was coming up to Christmas and I saw lovely rag decorations in a shop window. We had a go at creating our own versions in Art Club by tying strips of fabric to sticks. They came out very well!


An art club, run by Emma who is a local artist with a gallery in Frampton Cotterall, also runs on a Thursday. https://www.joyousmisfit.com/schools